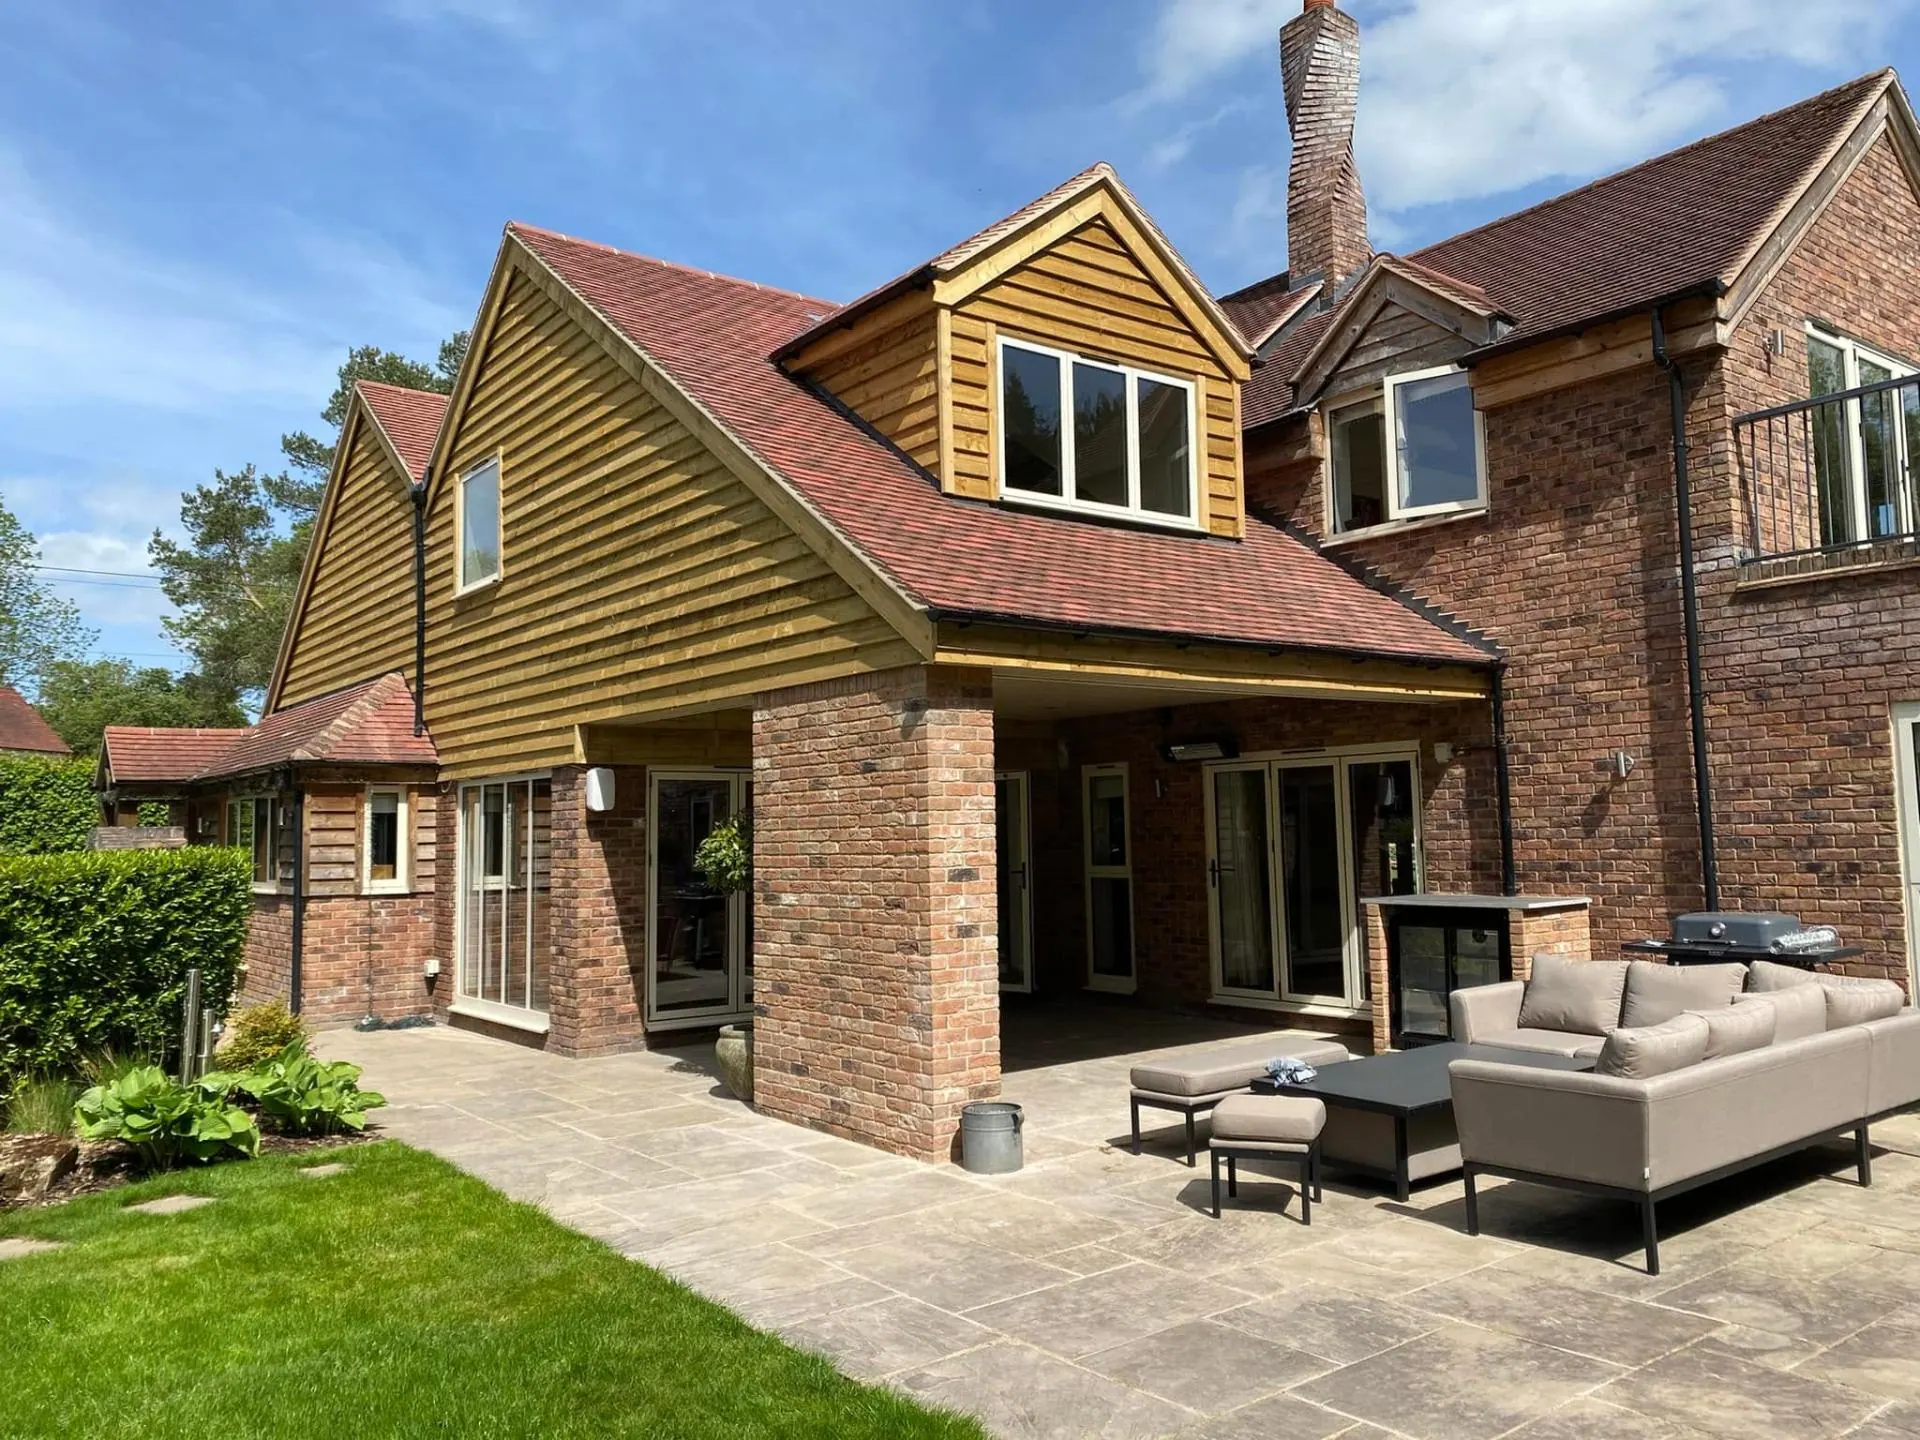
Extensions · Worcestershire · 2024

Period Farmhouse — Two-Storey Side Extension.

A substantial two-storey side extension to a rendered period farmhouse — full groundworks, matching red brickwork, beam-and-block first floor and a hand-cut hipped timber roof, documented from strip-out to superstructure.

Overview

This is one of our larger 2023–2024 builds: a fully engineered two-storey side extension wrapping the gable end of a much-loved rendered period farmhouse. The owners wanted more everyday living space downstairs and a proper new bedroom suite above, without the extension ever looking bolted on.

We ran the whole job in-house from strip-out and drainage, through footings, superstructure and beam-and-block first floor, all the way up to a hand-cut hipped timber roof carried on matching red brick gables. Every stage is documented below so you can see how a JRC job is actually built — not just how it looks on handover day.

The Vision

A two-storey extension that always looked meant to be there.

The brief was to nearly double the ground-floor footprint and add a full bedroom suite above, on the gable end of a much-loved rendered period farmhouse. The catch: it had to look like the house had always been that shape.

That decision drove everything — the roof form, the brick choice, the eaves and ridge line, and the way we tied every new wall back into the existing structure. No shortcuts, no off-the-peg trussed roof, no cladding to hide a bad joint.
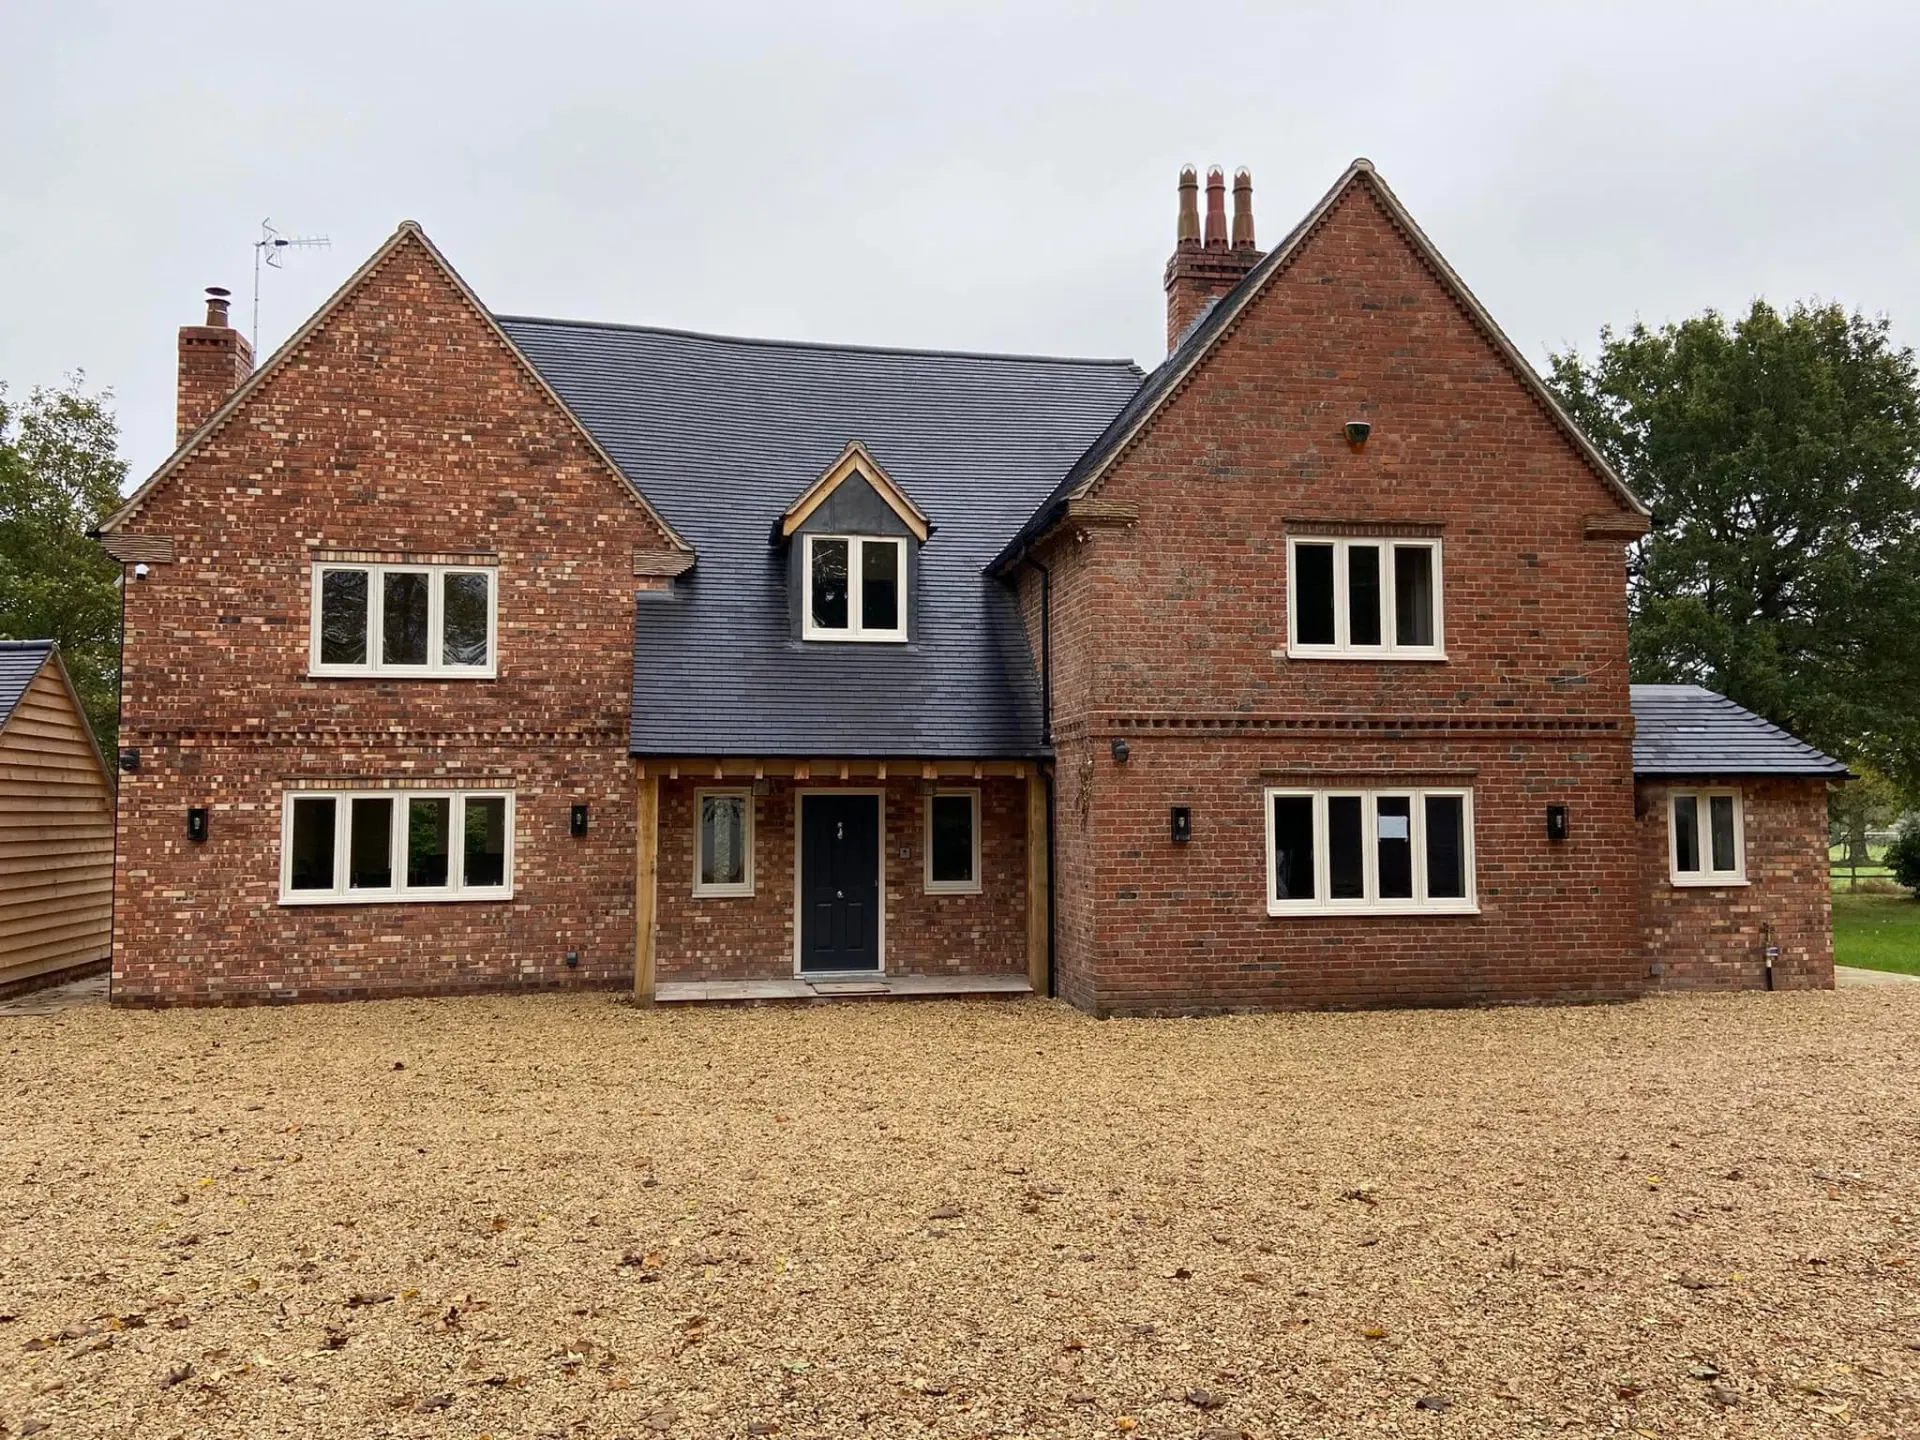
Strip-out & Groundworks

Break the ground, find the services, level the site.

First move was to strip the ground back to virgin soil along the whole gable, expose the existing foul drainage runs, and get a proper look at what we were building against. Old brick rubble came out and got stacked for muck-away.

With the ground broken we brought in the mini-excavator to dig the new foundation trenches tight against the existing gable, then levelled the whole footprint from a rotary laser. This is the least glamorous stage on any job and the one that decides whether the finished building lines through.

Ground broken back to virgin soil, existing drainage exposed.
Foundation trenches dug tight to the existing gable.
Levelled to formation, set out from a rotary laser.
Footings & Sub-Structure

Trench block, blue-brick DPC, every return squared.

Foundations were poured to engineer's spec, then built up in trench block to DPC and capped with a full course of blue engineering brick — the belt-and-braces detail we use on every substantial extension because it puts a proper hard, impermeable barrier under the house.

Every return was squared off the diagonal, every drainage run boxed in, and the whole sub-structure signed off before a single block went above ground. Get this stage right and the rest of the build is a formality; get it wrong and no amount of finishing will save it.

Trench block up to DPC, capped in blue engineering brick.
Full sub-structure signed off before we went above ground.
First courses tying the new build into the original gable.
First Floor & Superstructure

Beam-and-block deck, block piers, matching red brick.

The first floor is a beam-and-block deck, laid onto the perimeter walls and wrapped straight away in Kronobuild Fast Protect so the deck sits dry through the rest of the wet trades. Blocks for the first-floor lift were landed on the deck itself, which is how we keep the working platform tight and the site tidy.

The first-floor perimeter went up in block piers with structural steel columns set to carry the roof loads. Outside, we clad the whole first lift in a matching red brick, gauged and coursed to align with the existing rendered elevation so the two buildings read as one when the render is eventually taken to the addition.

Beam-and-block deck wrapped in Fast Protect.
First-floor piers and steel columns set for roof loads.
The JRC crew on the wall — first-floor brickwork rising.
Roof Carpentry

A hand-cut hipped roof, framed on site.

This is the detail we're proudest of. Rather than drop in factory trusses, the whole roof was cut on site — rafters, hips, valleys, ridge — carried on the new brick gable and tied back into the existing farmhouse roof. It is more work, and it is the only way to get a period-farmhouse roofline that doesn't shout "new build".

The frame went on through some proper Worcestershire weather; the deck stayed dry, the timbers stayed square, and the ridge lined through to the existing house on the first pull of the string.

Roof carpentry cut on site, not a prefab truss in sight.
The hipped frame reads straight from the front lawn.
The whole addition at first-fix roof stage.
Where We Are Now

Watertight shell, interiors next.

The extension is out of the ground, up to eaves, and closed in under a proper hand-cut roof — the point where a two-storey job stops being a building site and starts being a house. Interior fit-out, second-fix joinery and the render tie-in follow next, and we'll add the handover photography here once the last skip has left the drive.

If you want a builder in Worcestershire who documents a job like this and stands over every course, that's the standard we hold ourselves to on every extension we take on.

Gallery

Every image from Period Farmhouse — Two-Storey Side Extension.

Swipe, use the arrows or your keyboard to move through all 13 photos — tap any image for fullscreen.

1 / 13

The extension at first-fix roof stage — matching red brick gables and hand-cut timber trusses tying into the existing farmhouse.

Planning a project? Let's talk.